I’ve been a Minnesota Vikings football fan my whole life. As such, I’m accustomed to waiting and hoping for things to get better next year. With my crop, though, I’ve taken a different approach that’s resulted in higher yields and more profit…
I’VE STOPPED WASTING MONEY ON UNNEEDED FERTILIZER!
Maybe our operation is not much different than yours. Have you ever harvested a good but not great crop and thought about what could have been and what might have gone wrong? We used to think we just needed another rain. The yield monitor told us parts of the field yielded 280 bushels while other spots in the same field that got the same amount of rain yielded 180 bushels. Rain was not the difference! We also thought that maybe we just should’ve applied more nitrogen, and that would’ve made more yield. How do you know what your yield-limiting factors were? When it comes to crop nutrients, plant tissue analysis is the best way we’ve found.
There are a lot of things that can go wrong on the farm like poor drainage, soil compaction, etc. When it comes to nutrients, though, for a few hundred dollars I can tell you exactly what you can do to get more yield. I can also tell you what NOT to spend money on when it comes to fertilizer. The best part is you can be an expert in almost no time, as well.
Of course, I’m talking about plant tissue analysis. If you haven’t taken plant tissue tests on your farm before, NOW IS THE TIME TO START!
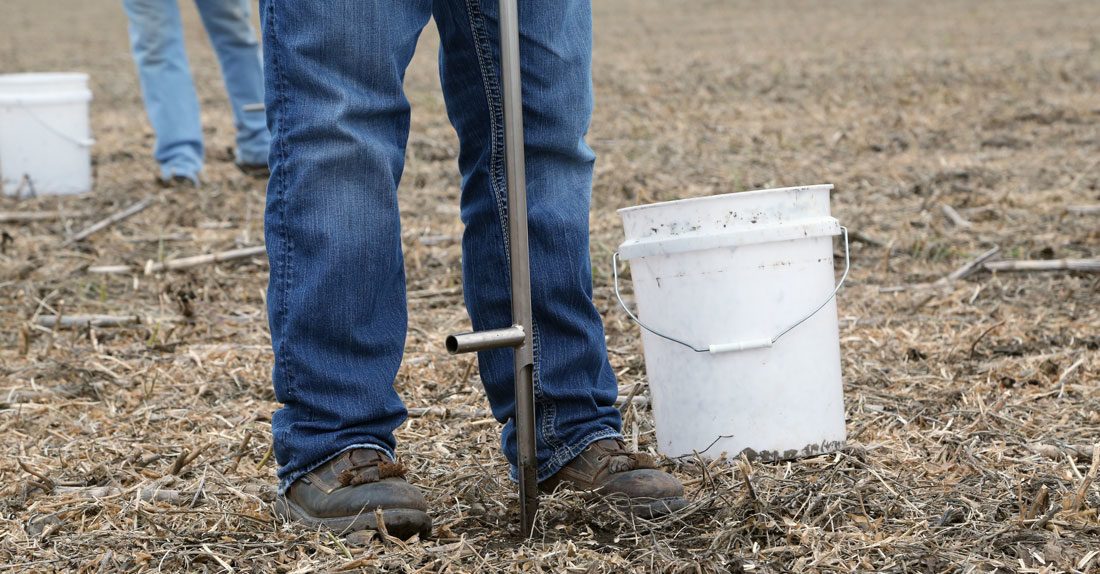
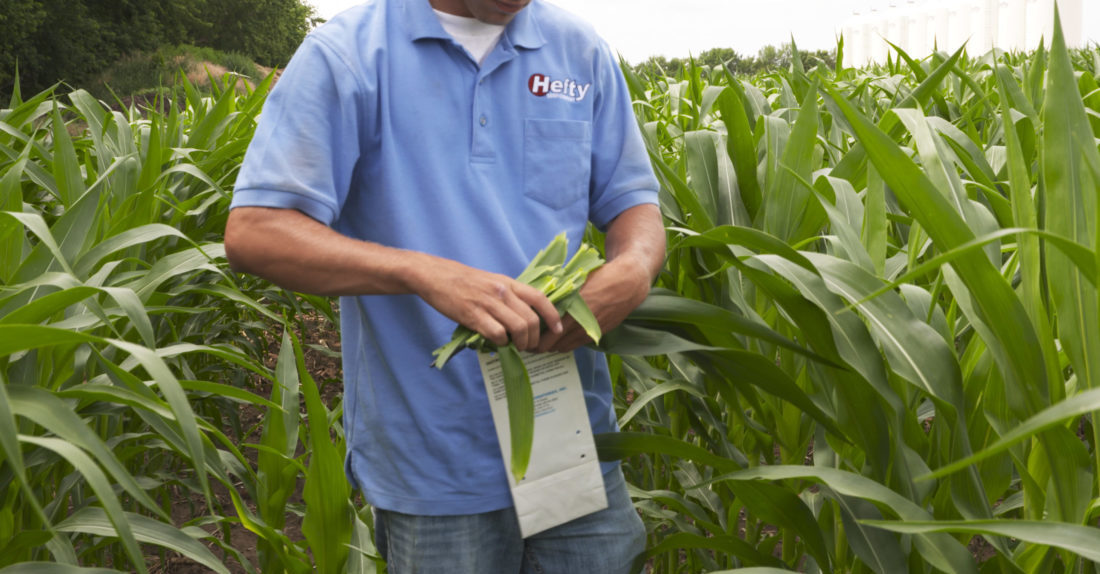
It’s simple. Just pick two spots in a field (of any crop) and mark that spot either with GPS or with a tall flag. Pull complete soil tests (8 to 10 six-inch-deep soil cores) from each area. I’d recommend the S3C test from Midwest Labs. Then, take some leaves from each area weekly for the next 10 to 12 weeks and send them in for plant tissue analysis. Midwest Labs has a good guide for analysis. View it HERE. You can also contact your testing lab for specific tissue testing instructions for your crop. Comparing a higher-yielding spot and a lower-yielding spot will definitely be eye opening. Also, looking at what a soil sample says versus what your plants can actually pull out of the ground is critical.


Soil sampling (left) and following up with tissue sampling (right) can help you determine not just your overall soil fertility, but what is available to your crop throughout the season.
ADVANCED TIPS
- 1. Compare soil test and tissue test results in specific parts of the field.
- 2. Chart your tissue test values throughout the season and look for trends in nutrient availability.
- 3. Track rainfall events and nutrient applications that may influence nutrient levels in the plants.
- 4. Track specific growth stages or growing degree days each week as you pull the samples.
- 5. Compare your results from one field to another and also compare with other farmers. It’s been interesting to see at the Ag PhD Field Day, for example, how different management practices by various farmers influence nutrient content in the plants throughout the season.
- 6. Keep records from year to year to document how you have made improvements on your farm and set goals for future years.
- 7. If you want my opinion and advice (and my brother Brian’s), you can send your results, along with any specific questions you have, to radio@agphd.com.
